Two months ago while browsing etsy I found this beautiful dress and I decided to brake my rule to not pay for any patterns any I purchased one. Even though I cannot share details of this pattern with you, you can use any granny square for it. If you think of it - it's a quite brilliant idea. Infinite possibilities to deign a unique dress.
Here are some patterns: http://2mayaswonderland.blogspot.com/2014/01/granny-squares-free-crochet-pattern.html
Here are some patterns: http://2mayaswonderland.blogspot.com/2014/01/granny-squares-free-crochet-pattern.html
.jpg)
I thought it is going to be fun and fast crochet project to make a Christmas dress for my daughter. How wrong I was...
I knew that because of using a much different yarn I will have to adjust the pattern. I decided to make the bottom out of 8 x 3 squares. It took me 1- 1.5 h to make each square. So to make 24 it added to 30 hrs of work.
Since my squares were much bigger that the one from the pattern and would look bulky I decided to make a plain top - one piece all with half double crochet (hdc).
It's not cosmic science and when it comes to all forms of art: needle work, painting or cooking I like to start with basic direction and modify it as I go. Besides I didn't have written pattern for the top so I had to figure out how to make one. I started with 90 chains - that was a good length for my 3.5 year old daughter's neck.
Row 1: work hdc along the chain, staring from 3rd chain from the hook
Row 2: ch 3, *2 hdc 1hdc*
Row 3-4: ch 3, hdc along
Row 5: ch 3, *2hdc, hdc in the next 5 hdc from previous row*
Row 6-8: ch 3 , hdc along
What you basically have to do is to adjust that directions to fit the person for whom you are making this. After row 8 I decided that the width is enough to fit my daughter. In the end I end up with a bodice that was too wide by 16 stitches, but instead of doing the top from the beginning I gathered it on each side on the wrong side and used thread to obtain the right width. The dress will last longer: when she outgrows it I can just rip the thread. Also 24 squares were too much and I ended up using 8 x 2 squares for the bottom.

This is when I created arm hole. You have to do the math now. Let me show you how I did it. After row 8 I had 165 stitches. I divided them by 3 and had 55 stitches to work with in each section.
The first section is right part of the back and side, second section is the front and 3rd section is side and left side of the back.
Row 9: ch 3, hdc in 30 hdc from previous row (right back), 25 chainless hdc foundation, skip 25 stitches, hdc in 56 stitch (arm hole), hdc in next 55 stitches (front), 25 chainless hdc foundation, skip 25 stitches, hdc in 136 stitch (arm hole), hdc in the next 29 stitches (left back).
Row 10 - row 25: ch 3, hdc along all stitches.
After I put everything together I saw that the bodice was to long (I made 6 rows to much, since the crochet bottom was very heavy it caused stretching of the top).

Also in my opinion it looks better if one makes sc around arm hole.
I decided to make the dress even more festive by adding crochet collar. I used this free pattern. I first created foundation by making slip stitch (ss) along the edge.
Now it was time to connect top and bottom. You already know that I made the dress way to big so I had to disattach it again and make mentioned modifications.
Voila!
.jpg)
.jpg)
.jpg)
.jpg)

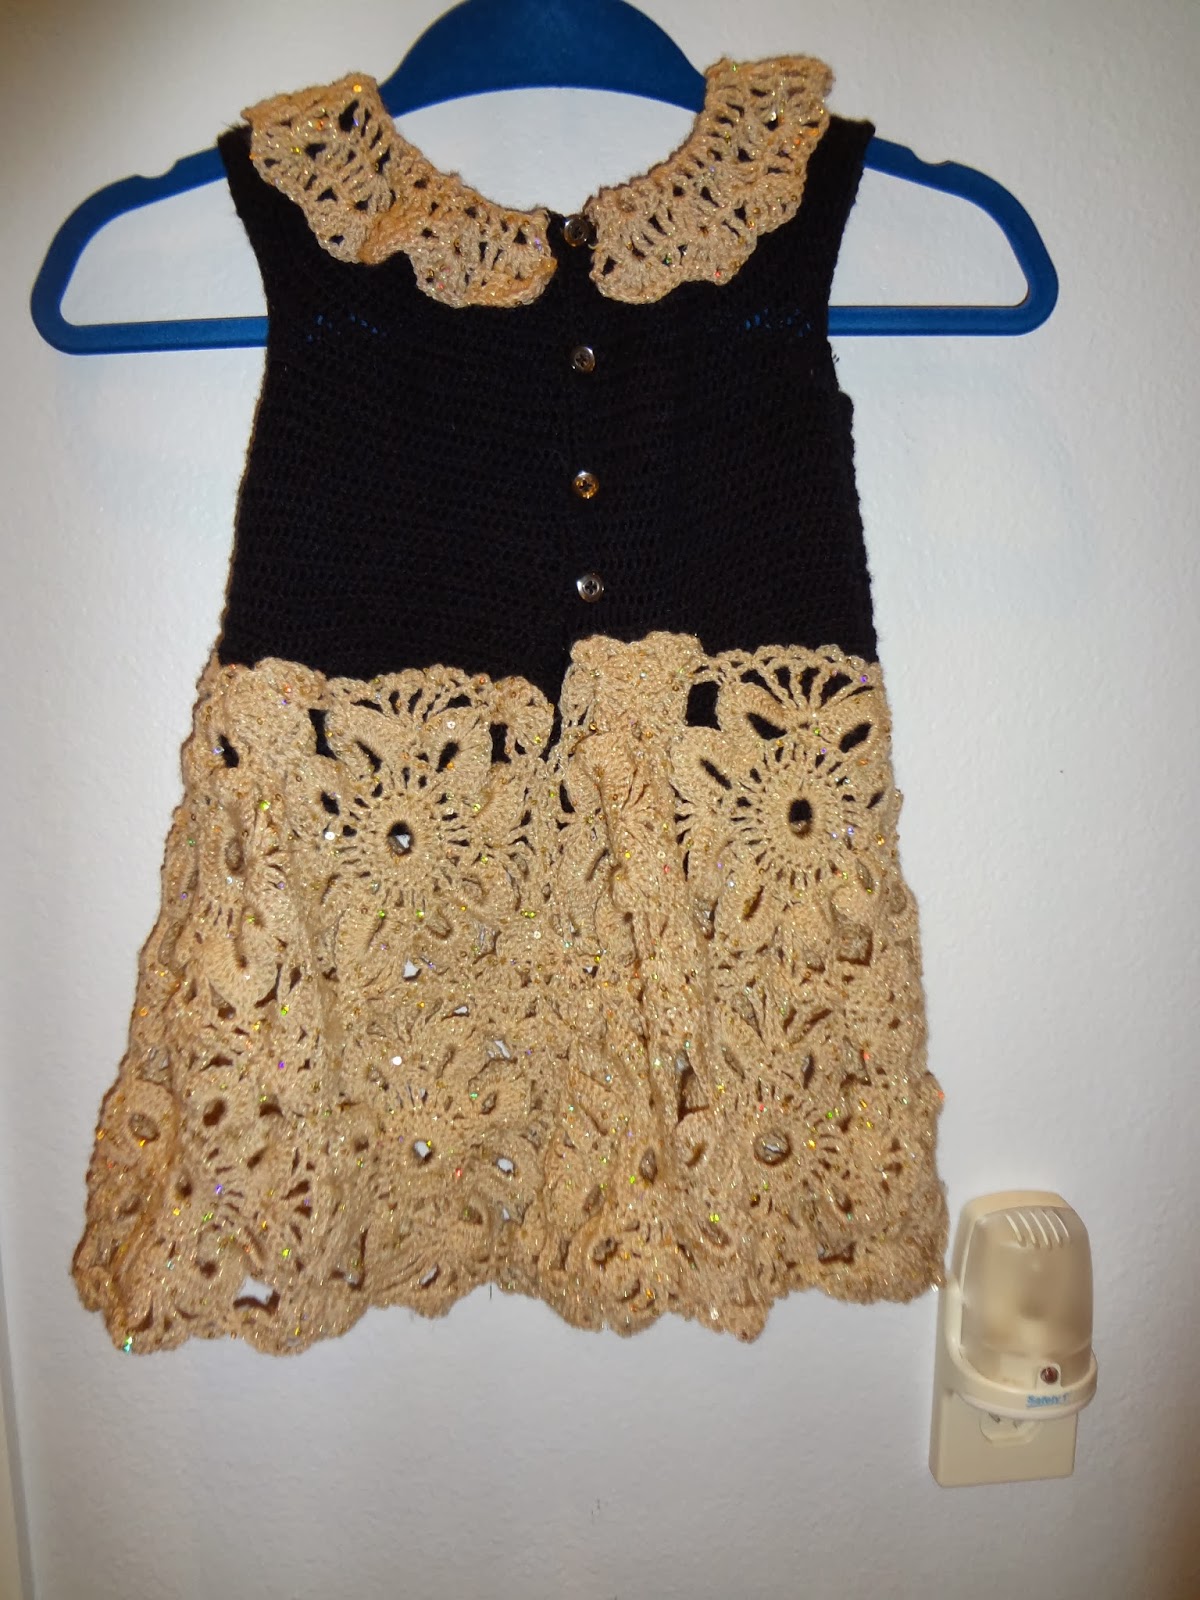
The dress is stunning and was ALMOST worth the effort I put in to make it.
Monica the dress is fabulous and Maya looks like a princess :) good work girl
ReplyDelete